Whether you are an Android App developer or a System developer, having a foundational understanding of the Android system is extremely beneficial. I recently set up a development environment at home and decided to share the process for anyone interested.
The general steps involved are as follows:
- Installing Ubuntu
- Configuring Ubuntu
- Installing Essential Software
- Configuring a VPN (Optional)
- Downloading AOSP Code
- Setting Up the Build Environment and Compiling Pixel Code
- Flashing the Device
- Modifying and Compiling Framework, Services, and Res
Recommended Hardware
While not strictly required, having the following makes the process much smoother:
- A PC or Laptop
- A 512GB SSD
- A Pixel device
1. Installing Ubuntu
For Linux development, I recommend using Ubuntu as your primary OS rather than a virtual machine. Installing it directly on your hardware provides better performance. The current recommended LTS version is 18.04. The installation process is fairly straightforward:
- Download Ubuntu 18.04: ubuntu 18.04
- Create a bootable USB drive using the tool recommended by Ubuntu.
- Install Ubuntu using the USB drive.
2. Configuring Ubuntu
- Install an input method (e.g., Sogou Pinyin).
- Install vim:
sudo apt install vim - Install adb
- Install fastboot
3. Installing Essential Software
- VS Code
- Android Studio
- Meld (for diffing)
- Wine
- WPS Office
4. Configuring a VPN (Optional)
- ShadowSocks
5. Downloading AOSP Code
If you cannot access Google servers directly, I recommend using the Tsinghua University mirror: https://mirror.tuna.tsinghua.edu.cn/help/AOSP/
Download repo
1 | mkdir ~/bin |
Create Working Directory
1 | mkdir WORKING_DIRECTORY |
Initialize the Repository
1 | repo init -u https://aosp.tuna.tsinghua.edu.cn/platform/manifest |
Sync the Code
(Using -c --no-tags downloads less data, speeding up the process)
1 | repo sync -c --no-tags |
6. Setting Up the Build Environment and Compiling Pixel Code
Install JDK
1 | sudo apt-get update |
Install Dependencies
1 | sudo apt-get install git-core gnupg flex bison gperf build-essential zip curl zlib1g-dev gcc-multilib g++-multilib libc6-dev-i386 lib32ncurses5-dev x11proto-core-dev libx11-dev lib32z-dev libgl1-mesa-dev libxml2-utils xsltproc unzip |
Download Pixel Drivers
When compiling code for the Android Master branch (or specific versions), you need to download the drivers corresponding to your device. You can find them here:
https://developers.google.cn/android/blobs-preview
The extracted files should look like this: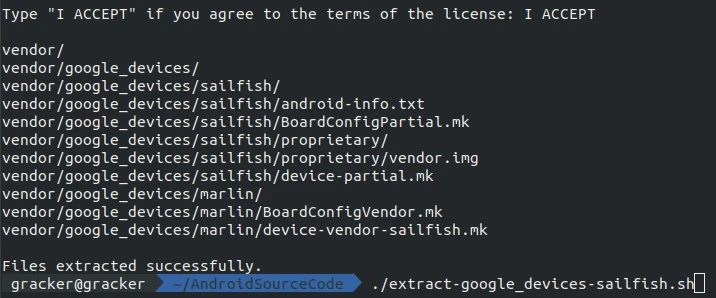
Compile the Pixel System Image
Run the following at the root of your source directory:
1 | source build/envsetup.sh |
Next, use the lunch command to select your device model and build type (user, userdebug, eng):
1 | lunch |
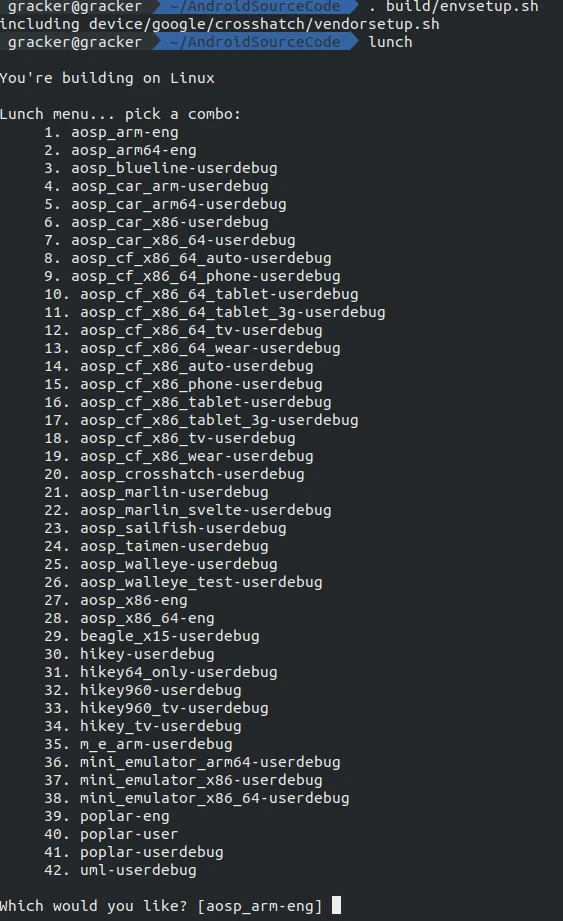
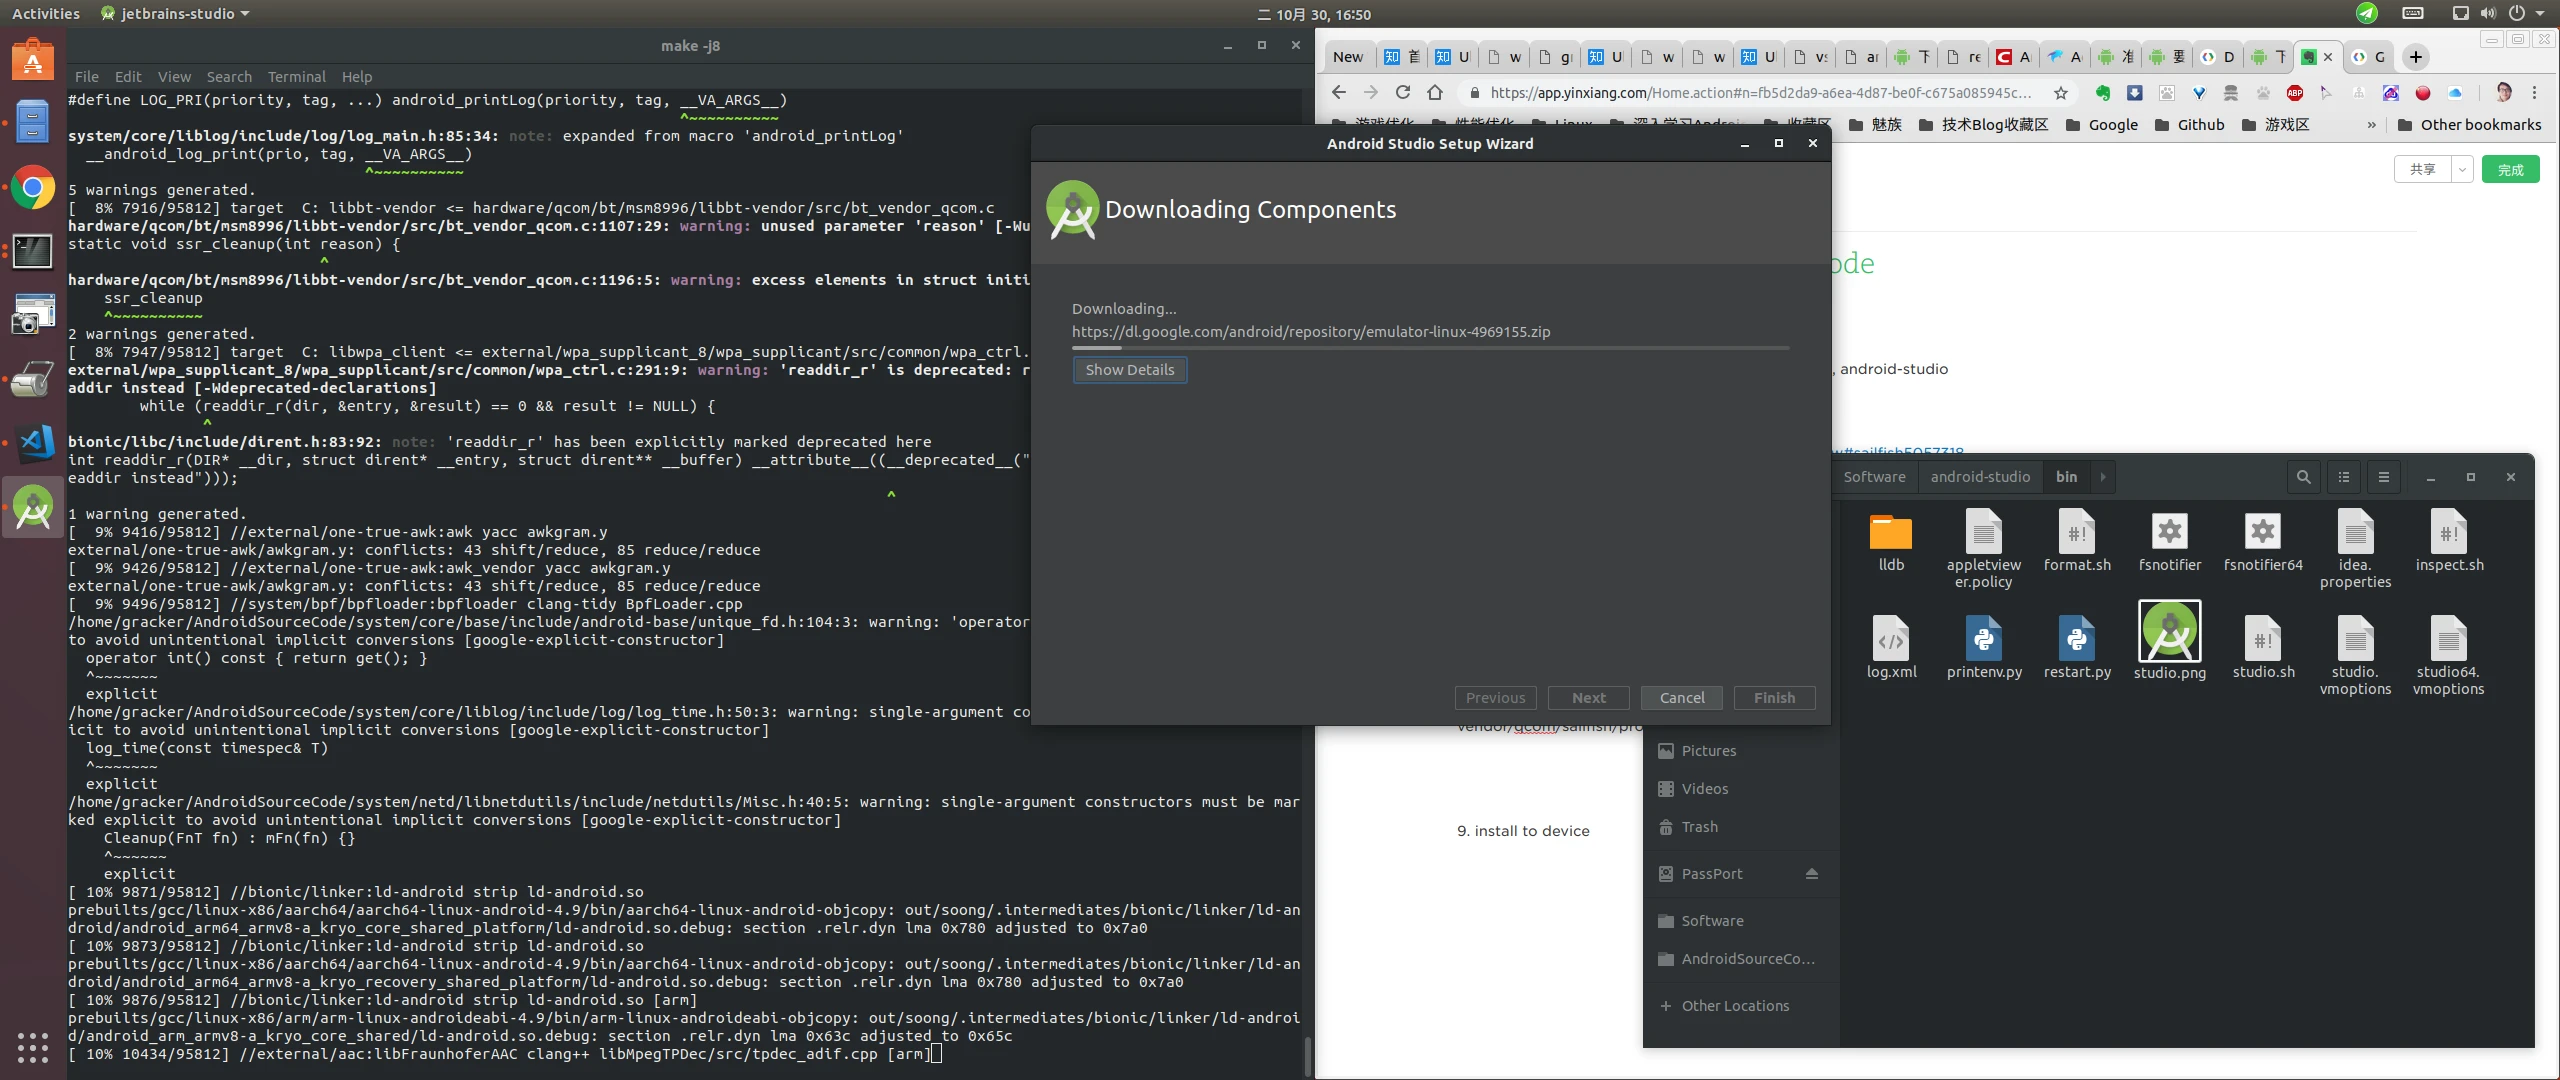
After making your selection, type the corresponding number and start the compilation with make. You can use the -j flag to specify the number of threads (e.g., -j8 for 8 threads). Adjust based on your CPU performance:
1 | make -j8 |
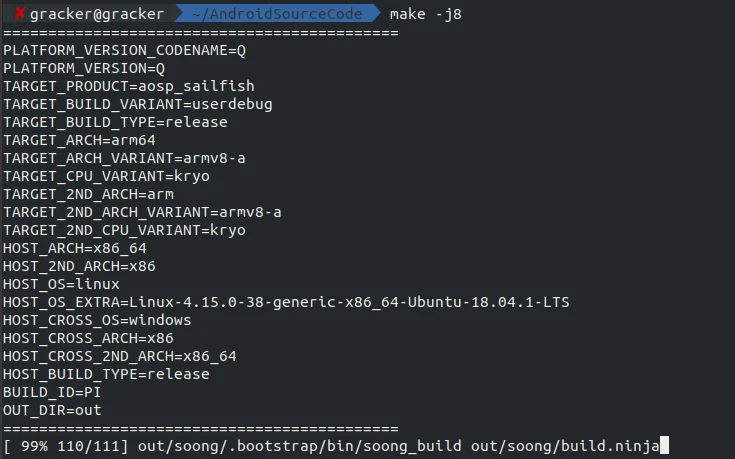
Successful Compilation
The out directory will contain the generated images.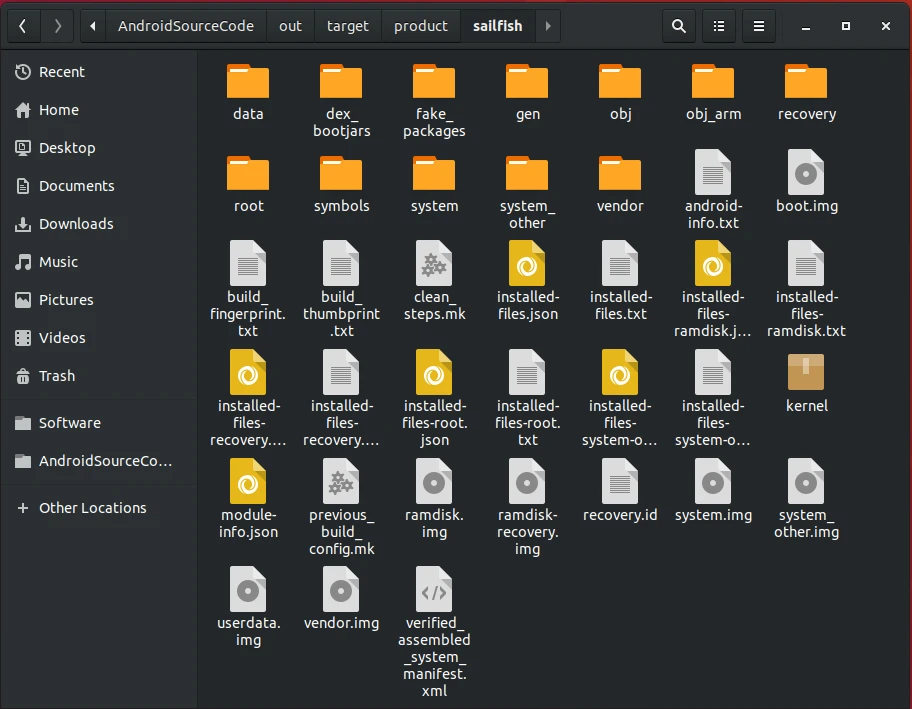
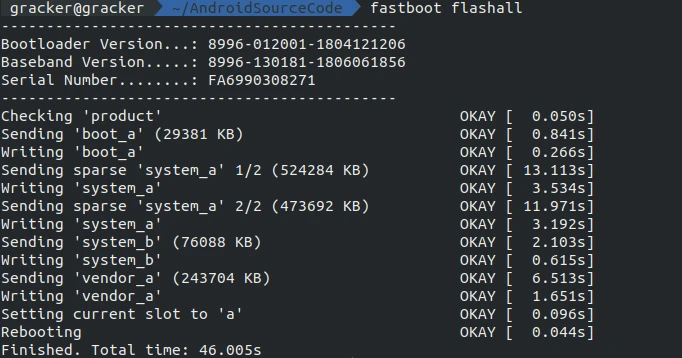
7. Flashing the Device
From the root of your source directory, run the following command to flash the system onto your device:

1 | fastboot flashall |
8. Modifying and Compiling Framework, Services, and Res
Run the following commands from the root of your source directory.
Recommended IDEs
- Java Code: Use Android Studio for opening and editing.
- C/C++ Code: Use SourceInsight, Eclipse, or VS Code.
Compiling Framework
1 | mmm frameworks/base |
Compiling Services
1 | mmm frameworks/base/services |
Compiling Res
1 | mmm frameworks/base/core/res |
Root and Remount

Push Changes
Once you have root and remount access, you can adb push the modified framework, services, or res files to the device. Restarting the shell or the device will apply the changes. Alternatively, use adb sync system. This synchronizes the system directory from your out folder to the device, which is extremely convenient.
Example:
1 | adb root && adb remount && adb shell stop && adb sync system && adb shell start |
About Me && Blog
Below are my personal details and links. I look forward to connecting and sharing knowledge with fellow developers!
- About Me: Includes my WeChat and WeChat group links.
- Blog Navigation: A guide to the content on this blog.
- Curated Android Performance Articles: A collection of must-read performance optimization articles. Self-nominations/recommendations are welcome!
- Android Performance Knowledge Planet: Join our community for more insights.
“If you want to go fast, go alone. If you want to go far, go together.”